Today I am teaming up with
Jamie Dorobek and her handmade Halloween costume site,
Really Awesome Costumes to bring you
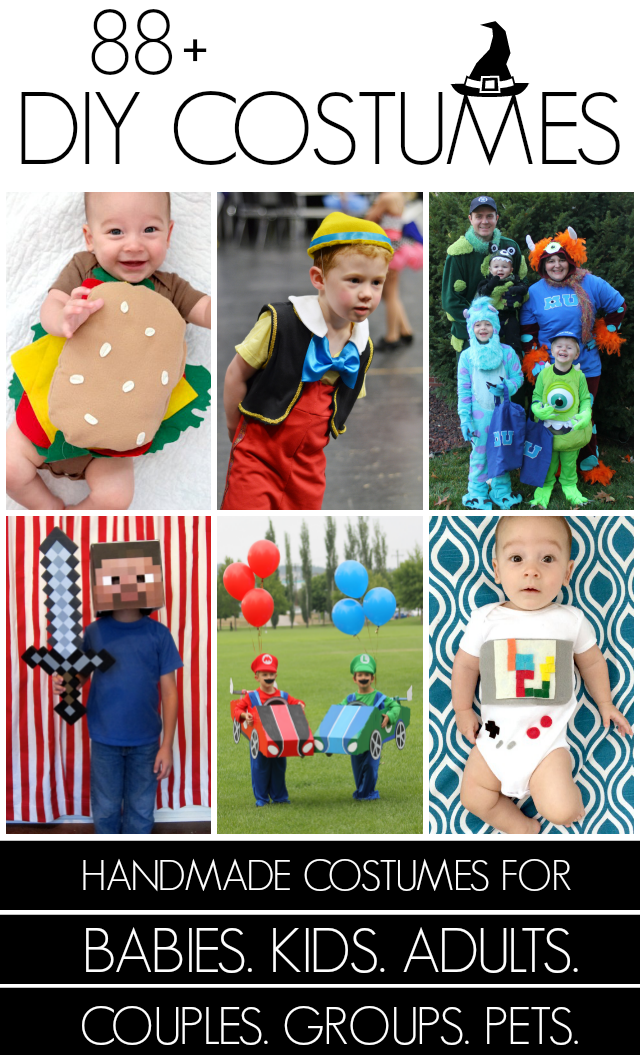
88+ DIY Halloween Costumes for everyone, including your kids, your pets, family costumes, and even a "trunk or treat" idea!
This post contains affiliate links. If you buy something that I recommend, you pay the same price, but I may receive a small commission.
We are football fans in this house. Broncos fans to be exact!
And not only are we Broncos fans, we are also "that family." The ones who like to dress up in family costumes for Halloween.
Last year, it was a football Halloween for us, but since our costumes weren't ready until the night prior, there was no time for me to post any details on the blog before the holiday. So with Halloween right around the corner again, it's now the perfect time for me to share the DIY details of my boy's costumes for all those other families with football on the brain.
Beckett already owned a Peyton Manning jersey, but I wanted to make his football player costume a bit more authentic with the addition of some football pads. I did just a bit of Google searching and came across a
mom that had created football pads for her three sons - the concept was pretty simple, but I couldn't find some of the materials that she used, so I adapted her idea to come up with my own, somewhat simpler, version. This is a DIY costume easy enough for anyone to
tackle (bad pun totally intended).
I bought a yard of 1/2" foam from a fabric store, then laid Beckett's jersey on top to get a basic idea of the dimensions. If you happen want to make football pads for an 18 month sized jersey - the dimension listed here will be just right. For any other size, you'll just have to approximate your own measurements - but I'll give you some tips on how to do so.
I first spread the jersey out on the foam and marked the width of the shoulders (the width across the shoulders of this 18 month sized jersey was 11 inches), then the length from the shoulders to the bottom of the jersey (12 inches, although I ended up trimming off about a half inch in the front and back when I was done to prevent it from sticking out below the jersey).
I knew the pads would need to narrow in at the torso, so I decided to make the bottom measurement just under half of the shoulder width (I went with 5 inches). I used a ruler to connect the shoulders to the waist with angled lines.
I again laid the jersey on the foam and sketched in the approximate shape of the neckline. Then I added a cut line from the point of the v-neck to the bottom center of the pads so that the completed pads would fit on like a vest.
I printed out the shoulder pad template from
this website, but since the template was for older little boys, after cutting it out at full size, I proceeded to trim off about a quarter of an inch off all the way around. I traced the reduced template onto the foam twice {as illustrated above}.
{UPDATE: it appears the post with the template has been removed from the Instructables website; but the shape is pretty easy to draw}
After cutting out all of the pieces (the foam was easy to cut with just a regular pair of household scissors), I used my hot glue gun to glue the shoulder pads in place. Note that I cut the front and back as one piece. I did not cut along the shoulder line that I had drawn, I just used this line as a guide for where to attach the shoulder pads.
The final step was finding a way to hold the pads in place. I've seen other tutorials that involve gluing or sewing on velcro, but I wanted to keep this as easy as possible, so I used ribbon I already had around the house to create laces to simply tie the pads in place.
I grabbed some ribbon out of gift wrapping closet and used an Exacto knife to cut slits in the foam down the front and at the corners.
I laced two long pieces of ribbon down the front, leaving them loose enough to easily slip the pads over Beckett's head, but allowing me to tighten the laces and tie them at the bottom once he was wearing them. Then I attached ribbons at each of the bottom corners so that the pads could be tied in place at Beckett's waist.
In each instance, I cut the slits just large enough to thread the ribbon through, but kept the slits small enough that I could double knot the ribbon on the back side of the pads and the knot would not pull through.
Beckett was not a big fan of the football pads when we first put them on him. It was a two person job - Scott held his arms above his head to stop him from pulling them off while I tied them in place. You can see from this blurry photo that he wasn't thrilled to be wearing them. But as soon as we put his jersey on over the pads, he completely forgot about them and didn't bug them once.
I did trim off some of the excess ribbon length once the pads were tied on so that the ribbons wouldn't dangle below the jersey.
I was pretty proud of the pads when I first made them, but I was even more excited to see how great they looked under Beckett's jersey. They really looked like football pads!
We added a long-sleeved white onesie under Beckett's pads and jersey to keep him warm. To complete his football player costume, I paired his jersey and pads with an inexpensive pair of white cotton pants, which I rolled up to his knees, and Broncos colored, striped socks that we already owned.
The simple DIY foam football pads gave Beckett's costume a much more authentic football player feel. He looked SO stinking cute running around outside in his jersey, pads and eye-black!
I especially loved the look of those shoulder pads from behind!
Once big brother's football player costume was complete, it was time to get the little brother in on the action. Since Cooper was only 5 months old last Halloween, we decided he was the perfect size to be the football!
I found a lot of football onesies online, but most were pretty pricey, so I decided to simply make my own.
I sketched out the shape of the laces and the top and bottom white markings of a football on the back of the transfer paper. If you'd like to make your own football onesie,
download my football template, which you can cut out and trace directly on to your iron on transfer paper. This template is sized for a 0-3 month sized onesie, but if you need a larger size, you can simply adjust the scale on your computer before printing, or you can print it and then enlarge it on a copy machine.
 |
Do not print this image to use as a template - it is not to scale.
If you wish to use my template, download it here. |
Then I cut the football shapes out of the transfer paper, and ironed them on to the brown shirt. Each brand of transfer paper has slightly different instructions for how long to iron, so be sure to carefully follow the packaging instructions.
Since Halloween in Denver can be quite cold, we paired Cooper's DIY football onesie with some cute
football socks and an adorable
knitted football hat. I also added some brown fleece pants for Trick-or-Treating after dark.
Now tell me he's not the cutest football you've ever seen!?
If your little football is a girl, you could instead add a cute brown tutu and a brown bow in her hair.
As I mentioned above, we are
that family... so Scott and I dressed up with the boys. I purchased inexpensive
referee shirts, which we paired with black pants that we already owned. If you are a parent to young kids, you know we are basically referees in real life, so these costumes weren't much of a stretch!
And now it's time for more DIY Halloween costume inspiration! A whopping 88 more DIY costume ideas, to be exact!


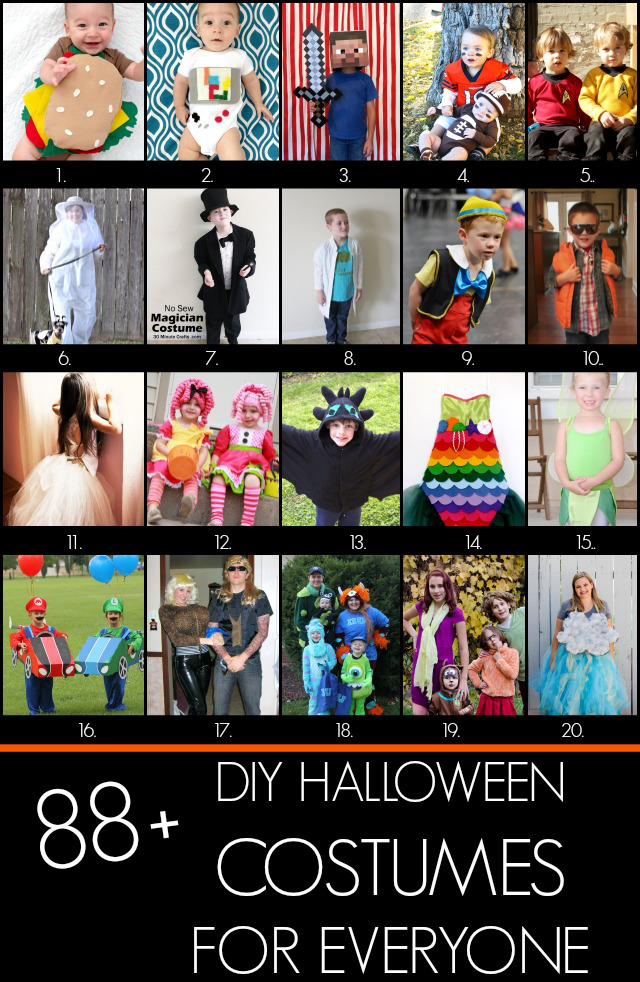 1. Handmade Baby Hamburger Costume
2. DIY Baby Game Boy Costume
3. DIY Minecraft Steve Costume
4. Football Brothers Halloween Costumes with DIY Pads and Onesie {YOU ARE HERE} 5. Star Trek Halloween Costume for Kids
6. A Bee and Her Keeper
7. No Sew Magician Costume
8. Flint Lockwood Costume
9. Pinocchio
10. Marty McFly
11. Princess Wedding Dress Costume
12. Handmade Lalaloopsy Doll Costume
13. Homemade Toothless Costume
14. DIY Mermaid For Less Than $20 (No-Sew Option)
15. Easy Tinker Bell Costume
16. Mario and Luigi Go Kart Costumes
17. Dog The Bounty Hunter and Beth
18. Family Monsters University Costumes
19. Scooby Doo family costumes
20. DIY Storm Cloud Costume
1. Handmade Baby Hamburger Costume
2. DIY Baby Game Boy Costume
3. DIY Minecraft Steve Costume
4. Football Brothers Halloween Costumes with DIY Pads and Onesie {YOU ARE HERE} 5. Star Trek Halloween Costume for Kids
6. A Bee and Her Keeper
7. No Sew Magician Costume
8. Flint Lockwood Costume
9. Pinocchio
10. Marty McFly
11. Princess Wedding Dress Costume
12. Handmade Lalaloopsy Doll Costume
13. Homemade Toothless Costume
14. DIY Mermaid For Less Than $20 (No-Sew Option)
15. Easy Tinker Bell Costume
16. Mario and Luigi Go Kart Costumes
17. Dog The Bounty Hunter and Beth
18. Family Monsters University Costumes
19. Scooby Doo family costumes
20. DIY Storm Cloud Costume
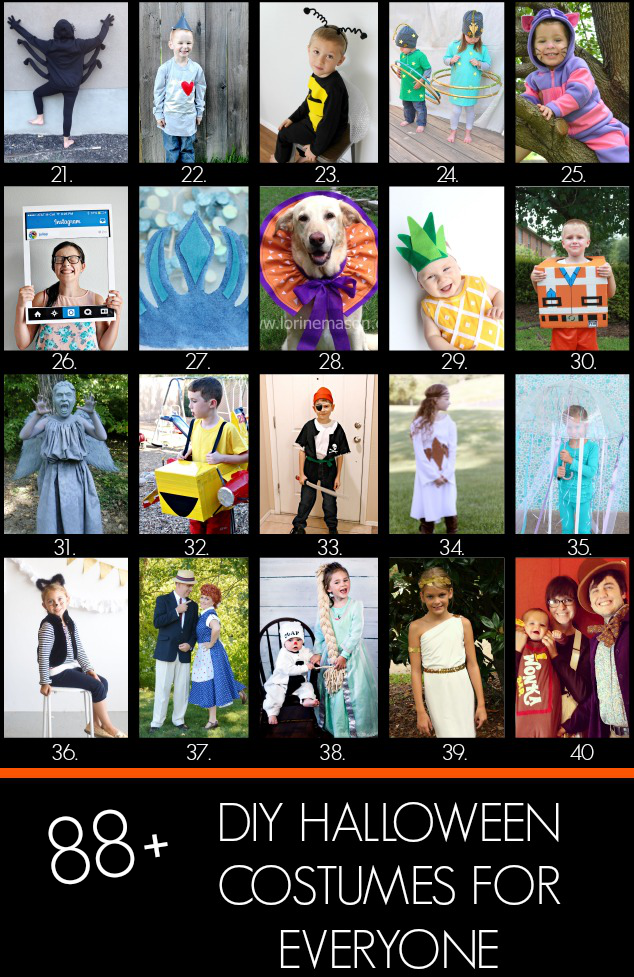 21. Cheap and Easy DIY Spider Costume
22. Easy Tin Man Costume
23. No Sew Bee Costume
24. Planet Halloween Costumes
25. DIY Cheshire Cat Costume
26. DIY Instagram Board
27. Elsa crown
28. Dog Collar Ruffles
29. DIY Pineapple Baby Costume
30. DIY Lego Movie Costume
31. Weeping Angel Costume
32. Disney Planes Costume: Dipper
33. Easy Pirate Costume
34. Easy Costume Idea - Renaissance Girl
35. 10 Minute Homemade Jellyfish Costume
36. DIY Cat Costume
37. Lucy And Ricky Costumes
38. Easy Frozen Costumes (Carrisa!!)
39. Easy Greek Goddess Costume
40. DIY Family Willy Wonka Costumes
21. Cheap and Easy DIY Spider Costume
22. Easy Tin Man Costume
23. No Sew Bee Costume
24. Planet Halloween Costumes
25. DIY Cheshire Cat Costume
26. DIY Instagram Board
27. Elsa crown
28. Dog Collar Ruffles
29. DIY Pineapple Baby Costume
30. DIY Lego Movie Costume
31. Weeping Angel Costume
32. Disney Planes Costume: Dipper
33. Easy Pirate Costume
34. Easy Costume Idea - Renaissance Girl
35. 10 Minute Homemade Jellyfish Costume
36. DIY Cat Costume
37. Lucy And Ricky Costumes
38. Easy Frozen Costumes (Carrisa!!)
39. Easy Greek Goddess Costume
40. DIY Family Willy Wonka Costumes
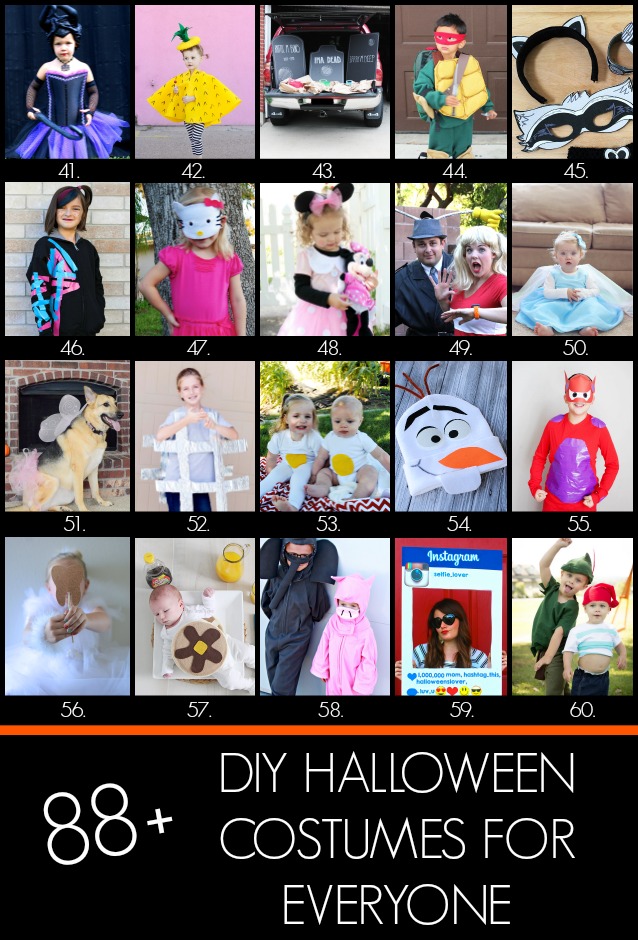 41. DIY No Sew Maleficent Costume
42. No Sew Pineapple Halloween Costume
43. Graveyard Bean Bag Toss: Trunk or Treat Car Costume
44. DIY Teenage Mutant Ninja Turtles Costumes
45. DIY Raccoon Costume with Printable Mask
46. Easy WildStyle Lego Movie Costume
47. Simple Hello Kitty Costume
48. No Sew Minnie Mouse Costume
49. DIY Inspector Gadget and Penny Costumes
50. DIY Frozen Elsa Dress Baby Edition
51. Fairy Princess Dog Costume
52. DIY Hashtag Halloween Costume
53. Toddler or Baby Egg Costume
54. Easy No Sew Olaf Costume
55. DIY Baymax Costume
56. DIY Tooth Fairy Costume
57. Baby Short Stack Pancake Costume
58. Elephant and Piggie Halloween Costumes
59. Instagram Halloween Costume
60. Peter Pan & Mr. Smee Halloween Costume
41. DIY No Sew Maleficent Costume
42. No Sew Pineapple Halloween Costume
43. Graveyard Bean Bag Toss: Trunk or Treat Car Costume
44. DIY Teenage Mutant Ninja Turtles Costumes
45. DIY Raccoon Costume with Printable Mask
46. Easy WildStyle Lego Movie Costume
47. Simple Hello Kitty Costume
48. No Sew Minnie Mouse Costume
49. DIY Inspector Gadget and Penny Costumes
50. DIY Frozen Elsa Dress Baby Edition
51. Fairy Princess Dog Costume
52. DIY Hashtag Halloween Costume
53. Toddler or Baby Egg Costume
54. Easy No Sew Olaf Costume
55. DIY Baymax Costume
56. DIY Tooth Fairy Costume
57. Baby Short Stack Pancake Costume
58. Elephant and Piggie Halloween Costumes
59. Instagram Halloween Costume
60. Peter Pan & Mr. Smee Halloween Costume
 61. Wildstyle Costume from the Lego Movie
62. Fred and Wilma Couples Costume
63. Viking Family Costumes
64. DIY Cruella de Vil Costume for a child
65. Disney Frozen Olaf Halloween Treat Bucket
66. How to Make a Minecraft Steve Head
67. DIY Harry Potter Costume
68. DIY Duck Dynasty Costumes
69. No Sew Cupcake Baker Halloween Costume
70. DIY Skunk Mask
71. Ghostbusters Proton Pack DIY
72. Frozen Anna Costume Tutorial
73. Candy Corn Costume
74. Paw
75. No Sew Toothless Dragon Costume
76. DIY Robot Costume
77. Wonder Woman Costume
78. Reese's Peanut Butter Cup Costume
79. Thrifted Gentleman Spy DIY Halloween Costume
80. DIY Boy Garden Gnome Costume
81. Group Costume: Bob Ross, Happy Tree, & Squirrel
82. DIY Blues Brothers Costumes
83. Snow White Costume
84. Peacock Princess Costume
85. Scarecrow Costume
86. Easy Teenage Mutant Ninja Turtle Costume
87. Handmade Teddy Bear Costume
88. Princess Elsa and the Spy Kid
89. DIY Baby Koala costume
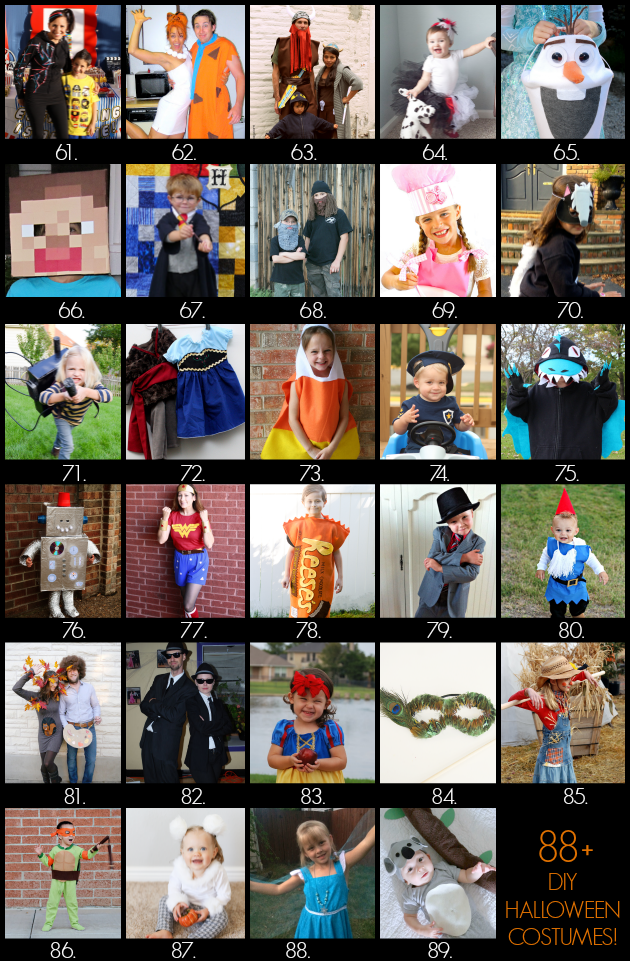
61. Wildstyle Costume from the Lego Movie
62. Fred and Wilma Couples Costume
63. Viking Family Costumes
64. DIY Cruella de Vil Costume for a child
65. Disney Frozen Olaf Halloween Treat Bucket
66. How to Make a Minecraft Steve Head
67. DIY Harry Potter Costume
68. DIY Duck Dynasty Costumes
69. No Sew Cupcake Baker Halloween Costume
70. DIY Skunk Mask
71. Ghostbusters Proton Pack DIY
72. Frozen Anna Costume Tutorial
73. Candy Corn Costume
74. Paw
75. No Sew Toothless Dragon Costume
76. DIY Robot Costume
77. Wonder Woman Costume
78. Reese's Peanut Butter Cup Costume
79. Thrifted Gentleman Spy DIY Halloween Costume
80. DIY Boy Garden Gnome Costume
81. Group Costume: Bob Ross, Happy Tree, & Squirrel
82. DIY Blues Brothers Costumes
83. Snow White Costume
84. Peacock Princess Costume
85. Scarecrow Costume
86. Easy Teenage Mutant Ninja Turtle Costume
87. Handmade Teddy Bear Costume
88. Princess Elsa and the Spy Kid
89. DIY Baby Koala costume